Creating Digital Art: Best Tools and Tips for Beginners
19 July 2026
So you want to make digital art. Maybe you doodled in margins your whole life, or you just bought a tablet and feel lost staring at a blank canvas on a screen. Either way, you are in the right place. Digital art is not some magical skill reserved for people who already know Photoshop inside out. It is a craft you learn step by step, tool by tool, mistake by mistake. This article will walk you through what actually matters when you are starting out: the hardware, the software, the techniques, and the mindset that separates people who quit after a week from people who end up building a career.
Why Digital Art Feels Different from Traditional Art
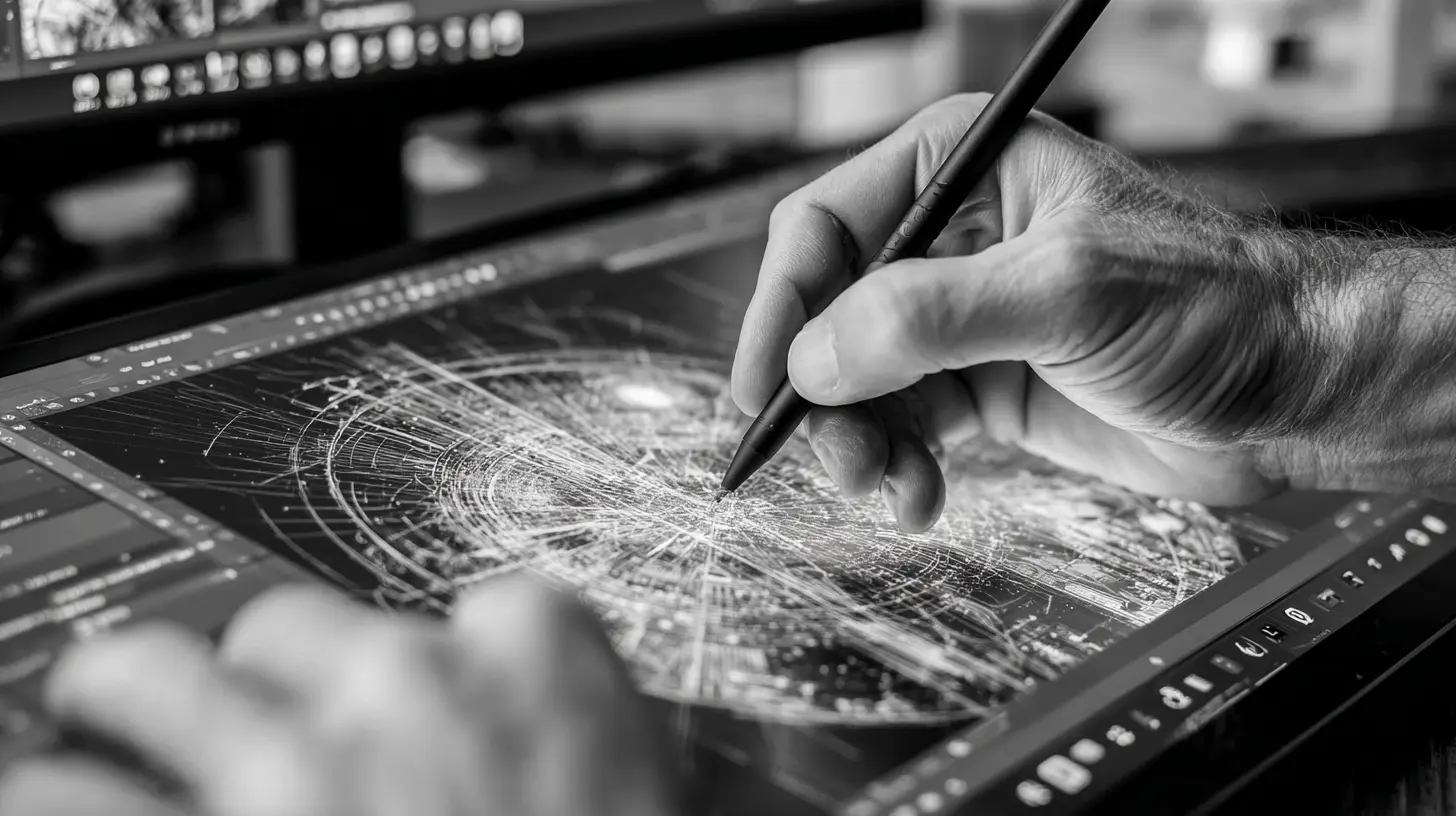
The first thing to understand is that digital art is not just "drawing on a computer." It is a different medium with its own rules, its own strengths, and its own traps. When you draw with a pencil on paper, you have a direct physical connection. The graphite drags, the paper texture grabs, and every mark is permanent unless you erase it with a rubber that leaves smudges. Digital art removes all that friction. You can undo anything. You can zoom in to pixel level. You can change colors with a slider. That freedom is amazing, but it also creates bad habits if you are not careful.Many beginners fall into the trap of relying on undo instead of learning to make deliberate marks. They sketch loosely, hit undo twenty times, and never develop the confidence to commit. The best digital artists treat their first strokes with the same intention as a charcoal line on paper. They just happen to have a safety net.
Choosing Your Hardware: The Tablet Is the Foundation
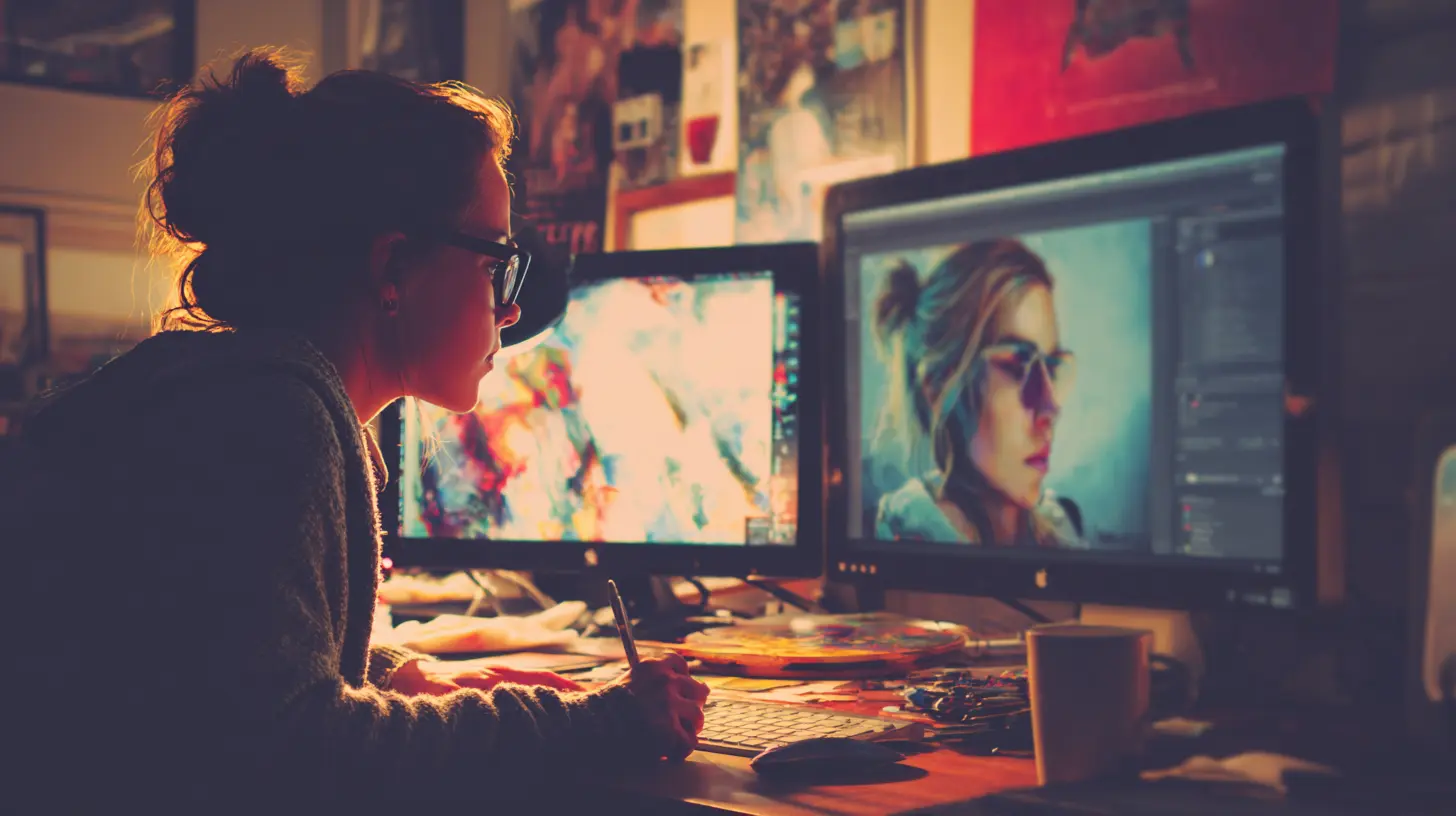
You cannot make digital art with a mouse. It is technically possible, but it is like trying to paint with a brick. You need a drawing tablet. There are two main types: pen tablets that have no screen (you look at your monitor while drawing on a flat pad) and pen displays that have a built-in screen (you draw directly on the image).Pen Tablets: The Smart Budget Choice
A pen tablet like the Wacom Intuos or the XP-Pen Deco series is a rectangular plastic pad that you plug into your computer. You draw on the pad while looking at your monitor. It takes some hand-eye coordination to get used to, but most people adapt within a few hours. The advantages are significant: these tablets are cheap (often under $100), they last for years, and they do not take up much desk space. The disadvantage is the learning curve. Your hand moves on the pad, but your eyes are on the screen. You have to build muscle memory for the mapping between the two.This is actually a good thing for beginners. Learning to draw on a pen tablet forces you to develop a steady hand and precise control. Artists who start with a screen tablet sometimes struggle later when they need to work on a non-screen device or when they travel light.
Pen Displays: The Direct Experience
Pen displays, such as the Wacom Cintiq, Huion Kamvas, or iPad Pro with an Apple Pencil, let you draw directly on the screen. It feels more natural because you are looking at your marks as you make them. The iPad Pro is particularly popular among beginners because it is a standalone device, meaning you do not need a computer. You just open Procreate and start drawing.The trade-off is cost. A decent pen display starts around $300 and goes up to several thousand dollars. Also, screen tablets are more fragile. If you drop an iPad, you lose your entire drawing setup. With a pen tablet, you just buy a new pad for $80.
What Should a Beginner Buy?
If you are on a budget, get a Wacom Intuos Small or an XP-Pen Deco Mini. They cost around $60 to $80 and will serve you well for two to three years. If you have more money and want the most intuitive experience, get an iPad with an Apple Pencil and Procreate. That combination is the single best entry point for digital art in 2025. It is portable, the software is cheap, and the pressure sensitivity is excellent.Avoid buying a cheap no-name tablet from Amazon with a brand you have never heard of. The pen tracking will be laggy, the drivers will crash, and you will think you are bad at digital art when really your hardware is fighting you.
Software: The Big Three and When to Use Each
Hardware gets you started, but software is where you actually make art. Beginners often get overwhelmed by the sheer number of options. Let me simplify it for you. There are three major programs that cover 95% of what beginners need.Procreate: The Best for iPad Users
If you own an iPad, get Procreate. It costs ten dollars, one time, no subscription. That alone makes it the best deal in digital art. Procreate is incredibly intuitive. You open it, pick a brush, and draw. The interface is minimal. The brush engine is powerful. You can make anything from quick sketches to fully rendered paintings.Where Procreate falls short is in complex illustration work. It does not have vector tools (for scalable line art), its text handling is basic, and it lacks advanced features like perspective grids with multiple vanishing points. For a beginner, none of that matters. You will not need vectors until you start designing logos. You will not need complex perspective grids until you draw cityscapes. By the time you outgrow Procreate, you will know exactly what you need next.
Adobe Photoshop: The Industry Standard
Photoshop is the Swiss Army knife of digital art. It does everything, but it is also expensive ($20 per month) and has a steep learning curve. The interface is cluttered with tools you will never touch. The brush engine is good but not great compared to dedicated painting programs.So why use Photoshop? Two reasons: jobs and compatibility. If you want to work as a professional digital artist, especially in concept art or illustration for games and film, you need to know Photoshop. Studios expect it. Also, Photoshop handles file formats better than any other program. You can open PSD files, export to every format imaginable, and work with layers in ways that other programs struggle to match.
For a beginner, I would only recommend Photoshop if you already have access to it through work or school. Do not start with Photoshop as your first program. It will frustrate you.
Krita: The Free Powerhouse
Krita is completely free, open-source, and surprisingly capable. It has a brush engine that rivals Procreate, support for animation, and a clean interface. The community behind Krita is active and produces excellent tutorials. If you cannot afford Procreate or Photoshop, download Krita right now. It runs on Windows, Mac, and Linux.The main downside is performance. Krita can be sluggish on older computers, especially with large canvases. It also has occasional stability issues. Save your work often. But for zero dollars, you get a professional-grade painting program that thousands of working artists use daily.
What About Other Programs?
Clip Studio Paint is excellent for manga and comic artists. Affinity Designer is great for vector illustration. Corel Painter simulates traditional media better than anything else. But as a beginner, stick with one of the big three. Master Procreate, Photoshop, or Krita first. Switching programs too early will slow your progress.
The First Hour: Setting Up Your Workspace
Before you draw a single line, set up your workspace properly. This matters more than you think.Canvas Size
Beginners often draw on tiny canvases, like 500 by 500 pixels. That is fine for sketches, but if you want to print your work or post it online without looking pixelated, use bigger sizes. For digital painting, start at 3000 by 3000 pixels at 300 DPI. That is large enough for prints and gives you room to zoom in for details.Do not use 72 DPI. That is for screen display only. If you later decide to print a 72 DPI image, it will look blurry. Always work at 300 DPI from the start.
Brush Settings
Most beginners download hundreds of brushes from the internet. Do not do this. Use the default brushes that come with your program. They are designed by professionals and cover 90% of what you need. In Procreate, the standard round brush and the flat brush are all you need for months. In Photoshop, the hard round and soft round brushes are your foundation.The obsession with custom brushes is a trap. Beginners think that the right brush will make them draw better. It will not. A bad artist with a thousand brushes still makes bad art. A good artist with one brush makes good art. Master the default brush first. Then experiment.
The Fundamentals: What You Actually Need to Learn
Here is the hard truth: digital art tools do not make you a better artist. They just make it easier to execute what you already know. If you cannot draw a straight line, no brush setting will fix that. If you do not understand light and shadow, no layer blending mode will save your painting.Line Quality
Digital lines can look sterile and robotic. The reason is that digital brushes do not naturally vary in pressure and speed the way a pencil does. You have to train yourself to vary line weight deliberately. Practice drawing lines that start thin, get thick, then thin again. Practice curves that flow from your shoulder, not your wrist. Draw circles over and over until they look like circles and not potatoes.A common mistake is using the same brush size for everything. Vary your brush size based on what you are drawing. Thick lines for outlines, thin lines for details. This alone will make your art look 50% better instantly.
Values Before Colors
Beginners love jumping into color. They pick bright hues and paint everything in rainbow. The result is a mess. Here is the secret: value (how light or dark something is) matters more than color. A painting with perfect values and boring colors still looks good. A painting with perfect colors and bad values looks terrible.Practice in grayscale first. Paint a portrait or a landscape using only black, white, and shades of gray. Once you get the values right, add color on top using a layer set to Color or Overlay blend mode. This technique is used by professional concept artists for a reason.
Understanding Layers
Layers are the single most powerful feature of digital art. They let you separate different elements of your drawing so you can edit them independently. Your sketch goes on one layer, your line art on another, your flat colors on a third, and your shading on a fourth.The mistake beginners make is using too many layers or too few. Too many layers and your file becomes a nightmare to navigate. Too few and you cannot make changes without ruining something else. A good rule of thumb: use separate layers for the background, the main subject, and the foreground details. Group related layers together. Name your layers. Future you will thank present you.
Common Mistakes and How to Avoid Them
I have seen the same mistakes in every beginner artist I have mentored. Here are the big ones and how to fix them.Mistake 1: Drawing Too Small
Beginners tend to draw their entire composition in the middle of the canvas, leaving empty space around the edges. This makes the image feel cramped. Instead, use the whole canvas. If you are drawing a character, make them fill most of the frame. If you are drawing a landscape, use the rule of thirds to place your focal point off-center.Mistake 2: Overusing Filters and Effects
Photoshop has filters that can turn your drawing into a watercolor painting with one click. Do not use them. Filters are for finishing touches, not for creating art. If you rely on filters, you never learn how to paint textures yourself. The result looks generic and fake. Real skill comes from understanding how to create effects manually.Mistake 3: Ignoring the Background
Many beginners draw a character on a white background and call it done. A white background makes your art look unfinished. Even a simple gradient or a solid color that complements your subject makes a huge difference. Better yet, add a background that tells a story. A character standing in a field feels different from a character standing in a dark alley. The background is part of the art, not an afterthought.Mistake 4: Not Using Reference Images
Some beginners think using reference is cheating. That is nonsense. Every professional artist uses reference. You cannot draw a hand from memory if you have never studied how hands look. Take photos of your own hands. Find images online (use sites like Pexels or Unsplash for free stock photos). Study how light falls on a face, how fabric folds, how shadows behave. Reference is not copying. It is learning.Building a Practice Routine
You will not improve by drawing once a week. You need consistent practice. But "practice" does not mean sitting down and trying to create a masterpiece every time. That leads to burnout.The 15-Minute Sketch
Every day, spend 15 minutes doing quick sketches. Draw whatever is in front of you: your coffee cup, your hand, your cat. Do not worry about making it perfect. The goal is to build hand-eye coordination and observation skills. Set a timer. When it goes off, stop. Do this every day for a month and you will see noticeable improvement.Studies, Not Just Drawings
A study is a drawing you do specifically to learn something. Spend one week studying eyes. Draw eyes from different angles, different lighting, different expressions. Next week, study hands. Then fabric folds. Then trees. You break down the complex skill of "drawing" into small, manageable pieces. This is how professionals learn.Copy to Learn, Not to Sell
Find art you admire and try to recreate it. Do not post it online and claim it as your own. But copying a master work is one of the best ways to understand composition, color, and technique. You will notice things you never saw before. Why did the artist place that shadow there? Why is that line thicker? Copying teaches you to see.
When to Upgrade Your Tools
You do not need the most expensive tablet or the latest software to make good art. But there comes a point when your tools hold you back. How do you know when that happens?If your tablet has visible lag when you draw, upgrade. If the active area is too small and you feel cramped, get a bigger one. If your program crashes every time you use more than five layers, switch to something more stable. But do not upgrade just because a new model came out. Upgrade because your current tool is limiting your workflow.
The same goes for software. Do not switch from Procreate to Photoshop just because someone told you Photoshop is better. Switch when you need a specific feature that Procreate does not have, like advanced text handling or vector tools. Otherwise, stay with what you know.
The Mental Game
Digital art can be frustrating. You will make drawings that look terrible. You will see artists on social media who seem to have been born with a stylus in their hand. Comparison is the thief of joy, and it is especially deadly for beginners.Here is what nobody tells you: those amazing artists you see online have been drawing for years. They have thousands of hours of practice. They also have a folder full of failed drawings that they never post. The difference between them and you is not talent. It is time.
Be patient with yourself. Every bad drawing teaches you something. Every mistake is a lesson. The goal is not to be perfect. The goal is to be better than you were yesterday.
Final Thoughts
Creating digital art is one of the most rewarding things you can do with a computer. It combines creativity with technology in a way that feels almost magical. The tools are better and cheaper than ever. The resources for learning are free and abundant. There has never been a better time to start.Pick one program. Pick one tablet. Draw something today. It will be bad. Draw something tomorrow. It will be slightly less bad. Keep going. Six months from now, you will look back at your first attempts and laugh. And then you will realize how far you have come.
That is the whole secret. Start. Keep going. Do not stop.
all images in this post were generated using AI tools
Category:
Technology GuidesAuthor:
Adeline Taylor
Discussion
rate this article
1 comments
Simone Hunter
Great insights for beginners! Exploring different tools can really enhance creativity. Don't forget to practice regularly and experiment with styles. Happy creating!
July 22, 2026 at 4:38 AM
Adeline Taylor
Thanks for the kind words! Experimenting truly makes a difference. Happy creating to you too!